
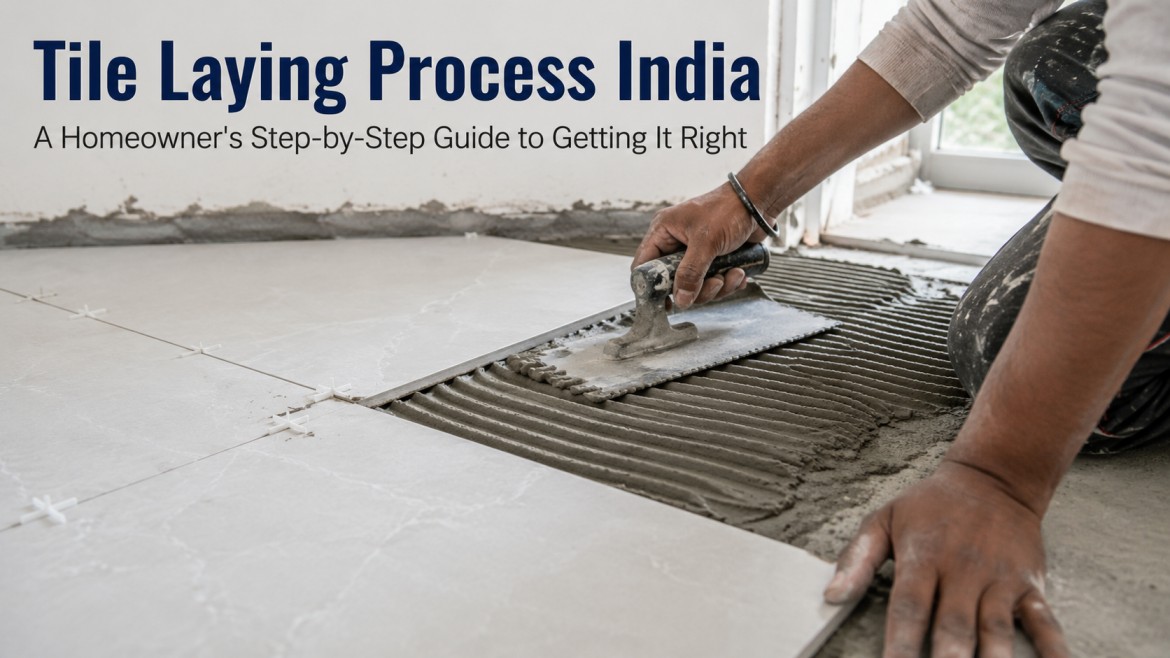
The tile laying process India homeowners rely on looks simple from the outside, yet a rushed step often causes hollow tiles, uneven grout lines, or early cracking. Because tiling affects both the look and the durability of a floor, understanding each stage before hiring a contractor helps you spot shortcuts early. In addition, knowing the process gives you the vocabulary to ask better questions during your renovation. As a result, this guide walks through every stage a Furnofy client should expect, from surface prep to the final clean-up.
Outline
- Tools and Materials You Will Need
- Step-by-Step Tile Laying Process for Indian Homes
- Tile Adhesive vs Cement Mortar: Which Should You Use?
- Common Mistakes Homeowners Should Avoid
- How Long Does Tile Laying Take?
- Maintaining Your Tiled Floor After Installation
- FAQ‘s
- Conclusion
Tools and Materials You Will Need
Before the actual tile laying process India contractors typically begin, they gather a specific set of tools and materials. Having these ready in advance prevents mid-job delays and ensures consistent results throughout the floor.
- Tile adhesive or cement mortar, chosen according to tile type and substrate
- Grout, either cement-based or epoxy, matched to the tile colour
- Tile spacers in the required size for consistent grout lines
- Notched trowel for spreading adhesive evenly
- Tile cutter or wet saw for edge and obstacle cuts
- Rubber mallet to seat tiles and remove air pockets
- Spirit level or laser level to check flatness
- Measuring tape, chalk line, and pencil for layout marking
- Safety gloves, goggles, and a dust mask for cutting work
Step-by-Step Tile Laying Process for Indian Homes
Once materials are ready, the actual installation follows a fixed sequence. Skipping or rushing any stage below is the most common cause of loose or uneven tiles later on.
- Step 1: Prepare the surface – clean the substrate thoroughly and remove dust, grease, or loose debris; patch holes with a levelling compound
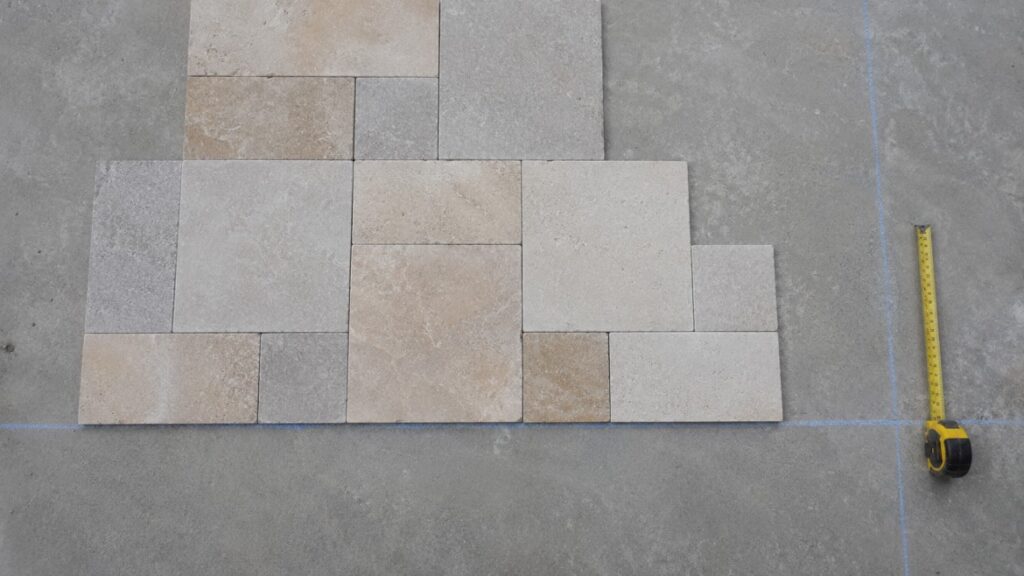
- Step 2: Plan the layout – measure the room and dry-lay tiles without adhesive to check alignment, symmetry, and cut-tile placement at the edges
- Step 3: Mix the adhesive – prepare the adhesive or thin-set to a creamy, lump-free consistency, mixing only as much as can be used within 10–15 minutes
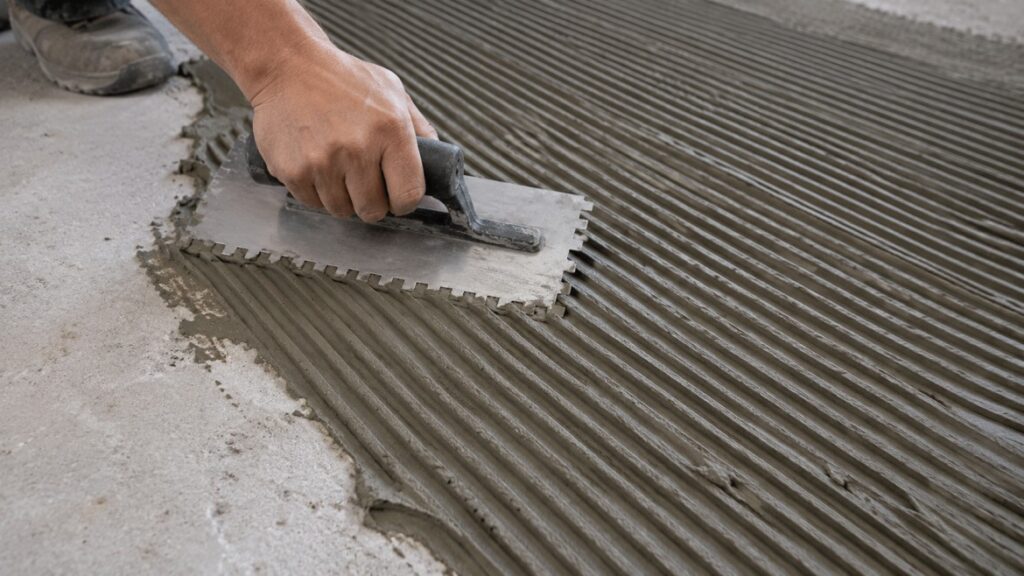
- Step 4: Apply the adhesive – spread it with a notched trowel held at a 45-degree angle, covering a small section at a time
- Step 5: Set the tiles – press each tile firmly with a slight twisting motion, then tap gently with a rubber mallet to level it against neighbouring tiles
- Step 6: Insert spacers – place spacers between tiles for even grout gaps, and check flatness continually with a spirit level
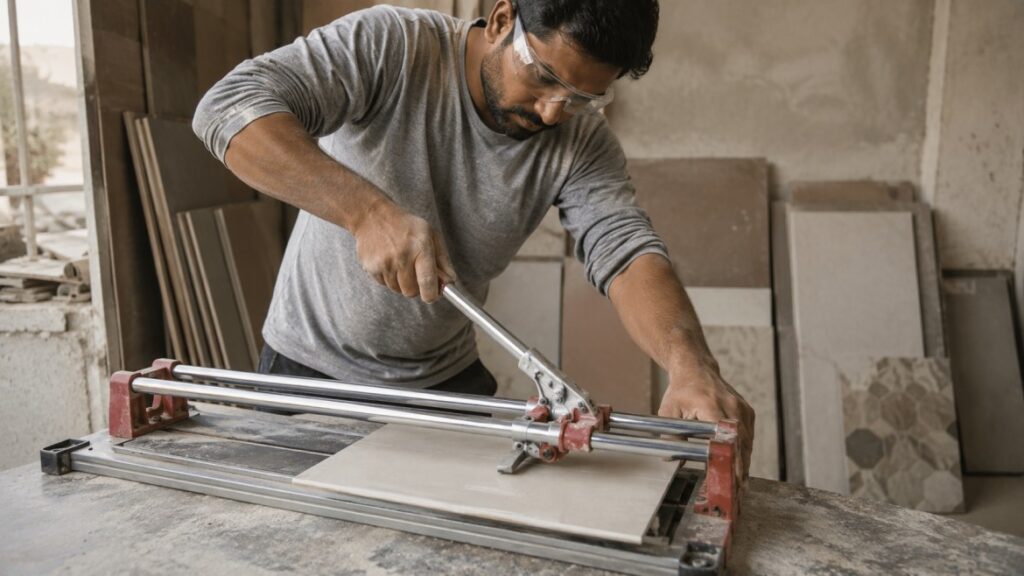
- Step 7: Cut edge tiles – measure and cut tiles for corners, doorways, or obstacles using a tile cutter or wet saw, wearing safety gear throughout
- Step 8: Let the adhesive cure – leave the floor undisturbed for 24–48 hours, since walking on it too early weakens the bond
- Step 9: Apply the grout – remove spacers, then push grout diagonally into the joints with a rubber float held at 45 degrees
- Step 10: Clean and finish – wipe excess grout with a damp sponge before it sets, then let the floor cure fully before regular use
Tile Adhesive vs Cement Mortar: Which Should You Use?
Homeowners often ask whether tile adhesive or traditional cement mortar suits their project better. Adhesive bonds faster and adds less load to the structure, since the layer is thinner than a sand-cement bed. Cement mortar, on the other hand, costs less upfront and works fine for smaller, standard-size ceramic tiles. However, for large-format or vitrified tiles, adhesive generally performs better because it reduces the risk of hollow spots and cracking under pressure.
| Factor | Tile Adhesive | Cement Mortar |
| Bonding strength | High, engineered for tiles | Moderate, depends on mix |
| Application thickness | Thin (3–6mm) | Thick (12–20mm) |
| Curing time | 24–48 hours | 48–72 hours |
| Best for | Large-format & vitrified tiles | Traditional ceramic tiles |
Common Mistakes Homeowners Should Avoid
Even with the right materials, small errors during the tile laying process India projects go through can affect the final finish. Being aware of these mistakes in advance helps you catch them before they become permanent.
- Skipping the dry-layout step, which leads to awkward cut-tile placement at visible edges
- Mixing adhesive in large batches that dry out before use
- Walking on tiles before the adhesive has fully cured
- Using the wrong spacer size for large-format tiles, causing uneven grout lines
- Rushing the grouting step and leaving air pockets in the joints
- Ignoring manufacturer-specified curing times because of project deadlines
How Long Does Tile Laying Take?
Timelines depend on room size, tile format, and site conditions, so no two projects move at exactly the same pace. Publicly available estimates suggest an experienced team can lay roughly 80 to 120 square feet of floor tile in a day, plus additional time for curing and grouting. Consequently, a standard 200 sq ft room often takes two to three working days from surface prep to a fully cured, walkable floor. That said, always confirm a realistic timeline with your contractor based on your specific site, since humidity, tile size, and layout complexity all affect the schedule.
Maintaining Your Tiled Floor After Installation
Once the tile laying process India teams follow is complete, a few habits keep the floor looking new for years. Sweep or vacuum regularly to prevent grit from scratching the surface. Additionally, clean spills quickly, since some grout types can stain if liquid sits too long. Avoid harsh acidic cleaners on natural stone tiles, and reseal grout lines periodically in wet areas such as bathrooms and kitchens.
FAQ’s
The standard process includes surface preparation, layout planning, adhesive application, tile setting with spacers, curing, grouting, and final cleaning, generally following the IS 1443 code of practice.
Most cement-based adhesives need 24 to 48 hours to cure before grouting, though rapid-setting variants may be ready in 4 to 6 hours; always check the manufacturer’s guidelines.
In many cases, yes, provided the old surface is clean, structurally sound, and roughened for better adhesion, though a professional assessment is recommended first.
Spacer size typically ranges from 1.5mm to 6mm depending on tile size, with larger tiles generally needing wider spacers to account for size variation.
Adhesive is usually the better choice for large-format or vitrified tiles because it bonds faster and reduces hollow spots, while cement mortar remains a workable, lower-cost option for smaller ceramic tiles.
Conclusion
The tile laying process India homeowners go through involves far more than simply sticking tiles to a floor; each stage, from surface prep to curing, directly affects how long the finish lasts. If you are planning a tiling project and want a second opinion on material choice or layout, Furnofy’s design team can review your space and help you avoid the common mistakes covered above.